

HOW TO MAKE A TIMELAPSE WITH GOPRO
A GoPro is a traveler’s best friend! A camera that fits within the palm of your hand, strong and durable with a mind-blowingly good quality to it despite the tiny size. I am a moto vlogger, and so my GoPro really is my bread and butter.
However, a GoPro is capable of more than just being a tiny camera, that you can mount on your helmet or on a vehicle, and it can do so much more. In this article, I will let you guys how to make a timelapse with GoPro. Without further adieu, let us get to it.

For the sake of saving time, I am not going to explain what a timelapse is. If you are looking for the answer to “how to make a timelapse with GoPro”, I am guessing you already know what it is. In order to capture a timelapse with your GoPro, follow the given steps:
Steps to make a timelapse with Gopro
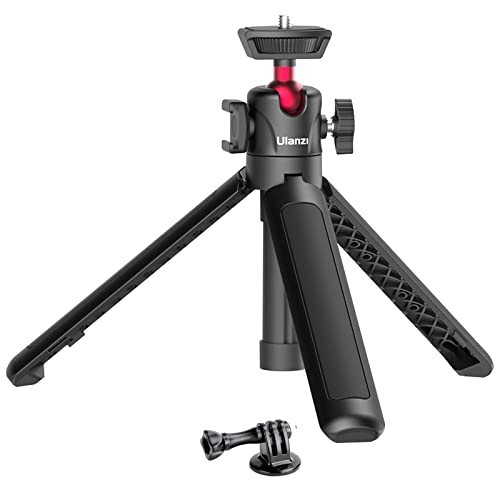
Step 1: First things first, you need a tripod to mount your GoPro. You can potentially set it up on a flat surface as well, that is possible. With that said, a tripod offers you much more flexibility in terms of angle, stability and makes everything feel more professional, and I dig that.


Step 2: Once you have attached your GoPro to the tripod or set it on a plane and stable surface, you need to frame it well. It is all about the right angle if you want to get a shot that does not look terrible. If, for example, you are going to be capturing a sunset, make sure that the camera has an angle from where it actually looks pretty.
If you do not frame the camera correctly, the end result may turn out to be rather disappointing due to over or underexposure. A number of things can go wrong, so yes, framing your camera correctly is quite important.
Step 3: Once everything is all set and lined up correctly, do the following:
Tips Whilst Capturing a Timelapse footage with a GoPro
Tip 1: A basic SD card with not a ton of storage can work for point-and-shoot cameras, but in this case, it might mess things up. In a timelapse, the camera takes many pictures and stitches them together. These images are high-resolution so running out of space is quite common. It is recommended that you get a bigger SD card if you plan on making timelapse videos.

Tip 2: Be patient and do not be afraid of messing up. In order to make a 30 second timelapse, it can take up to 90 minutes, so it is not for those that lack patience. Once everything is set, you have started the recording, relax and let the camera do its work. Also, it is seldom that someone excels at a task they haven’t done before. Your first timelapse may turn out great, but it is more plausible that it is average at best. Do not be discouraged by it.
There are other ways of taking timelapse footage. If you have a Hero 4 or above, you can take 4K Time-Lapse videos. The only drawback here is that it drains your battery quite fast. Another method is increasing the speed of a normal video during post-production. This requires vast amounts of storage and a capable processor.
The best and most effective method is the Time-Lapse Photo Sequence method, and here is why:
Conclusion
The above article was dedicated to answering the question “how to make a timelapse with GoPro”. There are multiple methods using which you can capture timelapse footage on your GoPro. Each method has its own pros and cons, so be sure to read up about them and see which one works the best for you. Hope I was able to provide you with a satisfactory answer. Safe adventures to you, and thanks for reading!


